My mum used to have some nice fabrics hidden in a storage box, so I picked the most colourful one and decided to make some small projects… I started with the slip in mobile phone case…
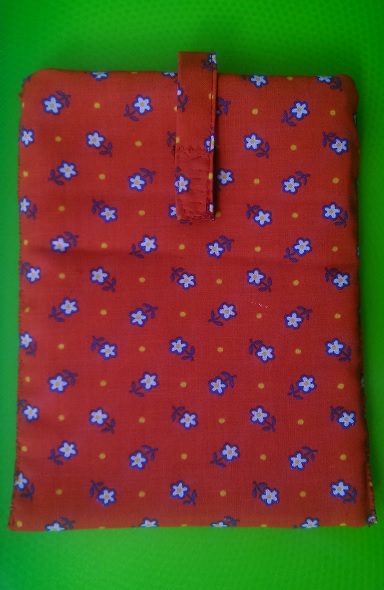
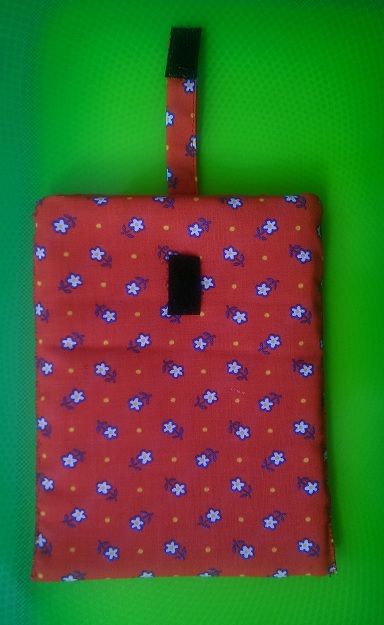
Although I first followed the technique described further below in this post by creating separately the two side panels of the case, I recently came across a simpler technique which I followed and I have to say it was very quick…
1. My new revised version of the slip in mobile case…
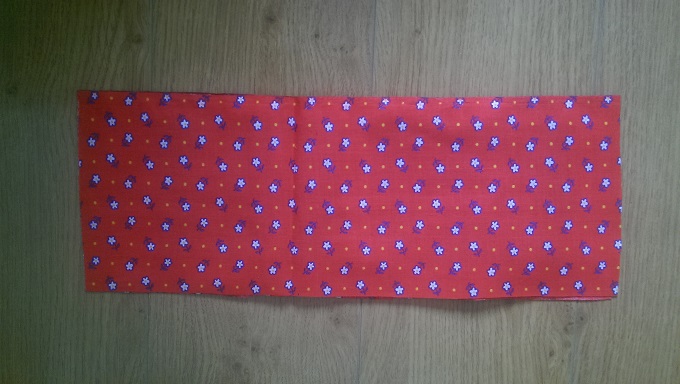
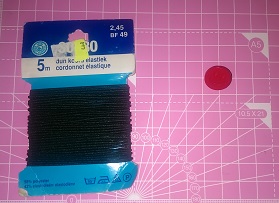
I came across these instructions and realised how much simpler it seems to make a slip in mobile case. I cut two pieces of fabric 13.5″ x 6.5″ and two smaller pieces of soft felt to use as my interfacing – I gave it my own twist here with the two interfacing pieces, but you can use one piece of interfacing instead the same size as the main fabric as per original instructions.

I hand sewed the interfacing and then I put the right sides of my fabric together and sew all along leaving only the top side of my case open so that I can turn it inside out and add a small flap. This time I used hook and loop fastening instead of a button.
Download the slip in case instructions here…
2. My initial version of the slip in mobile case…
I started by measuring the size of my phone adding 2cm (1 inch) extra on each side of my fabric pieces as I will add an internal padding layer on each side of the case for extra protection of my phone. Depending on the thickness of the padding you will be using, you may want to add a bit to the above measurmements.
I cut four equal size pieces of my fabric – two for each side as I will wrap them around an intermediate layer of padding.
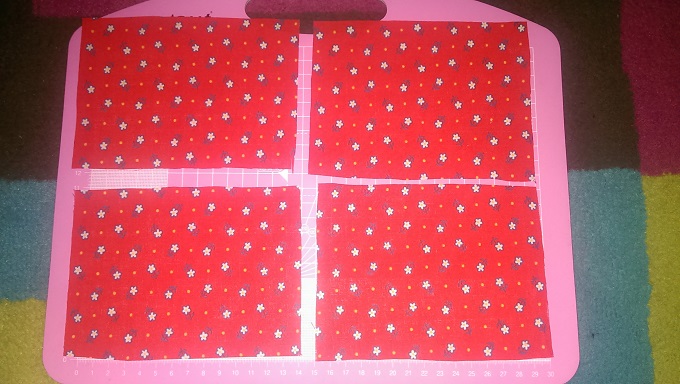
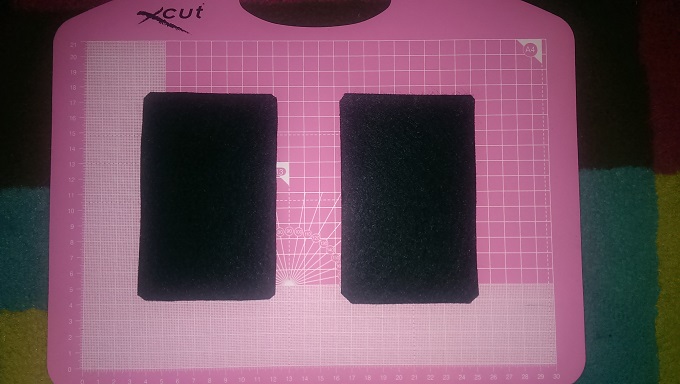
I cut two pieces of thick fleece fabric (you can easily find them in any craft shop) 1cm smaller than the fabric pieces to leave enough space to sew the fabric around it.
Take the two pieces of fabric, put the right sides together and sew around the sides leaving only the top side open. Repeat for the other two pieces.

Take your padding pieces, cut off the pointy corners around it and attach it in the middle of the wrong side of the sewn fabric and hand sew it to hold it in place. Make sure you sew it on one side of the two sewn fabrics as you will need to turn it inside out later.
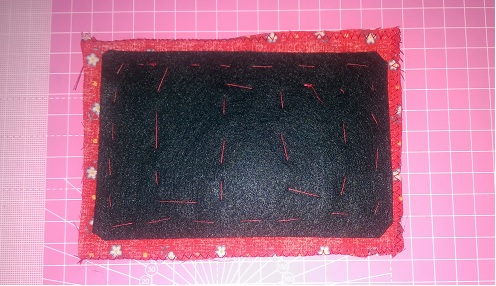
As you may have noticed from my pictures I cut the fabric a bit smaller than initially calculated, but I sewed closer to the edges so it still fitted at the end.
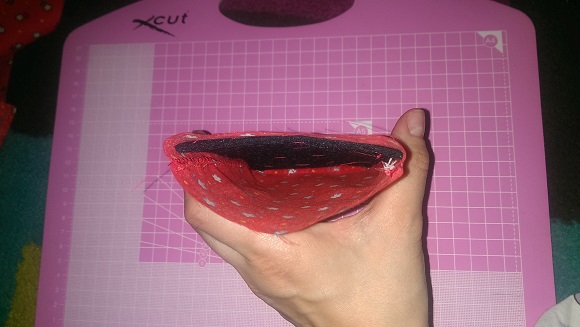
Now turn your fabric inside out so the right sides are facing up and close the top opening (I hand sewed it as I didn’t want the stitched to be visible).

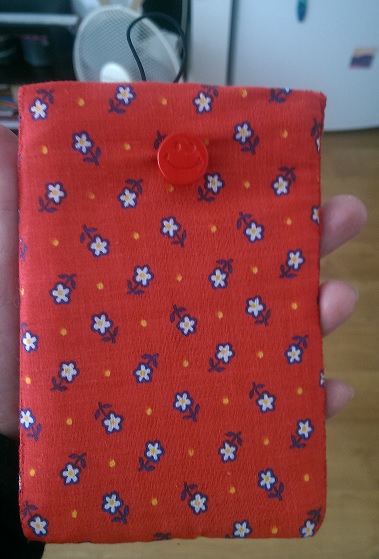
Repeat the steps above for the other side but this time before you turn the fabric inside out you will need to attach a small elastict band to the padding. I used thin rounded elastic band and a smiley face button which I hand sewed.

Turn the fabric inside out and close the top opening as with the other piece earlier.
Take the two padded pieces, place them together on top of each other and sew all around them – I habd sewed them to make the stitched invisible. Make sure the top where the elastic band shows stays open as this is where you will slip in your phone.
You can sew your button on the piece without the elastic band and you are done!!